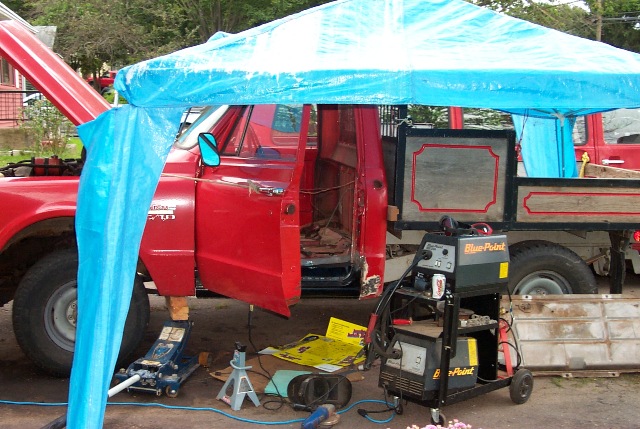
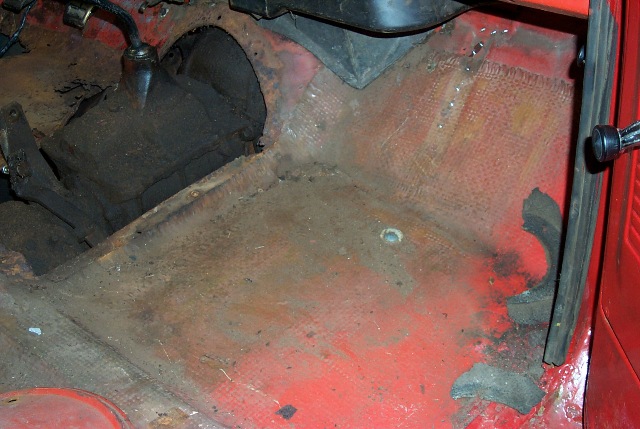
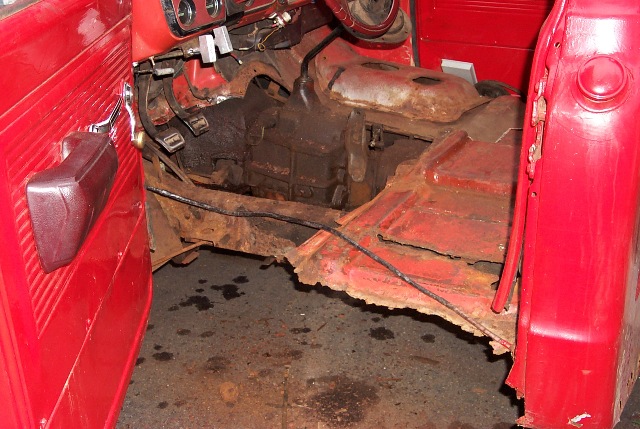
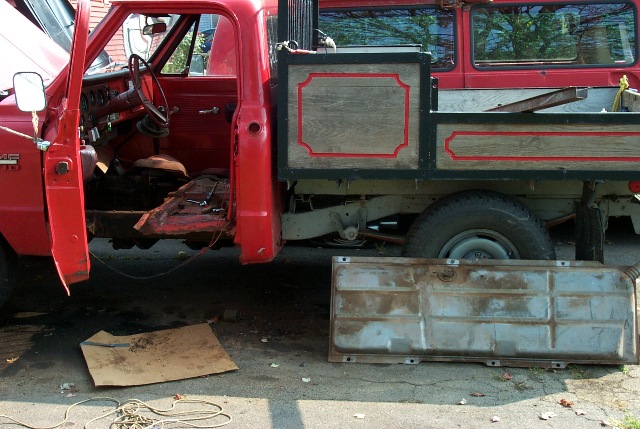
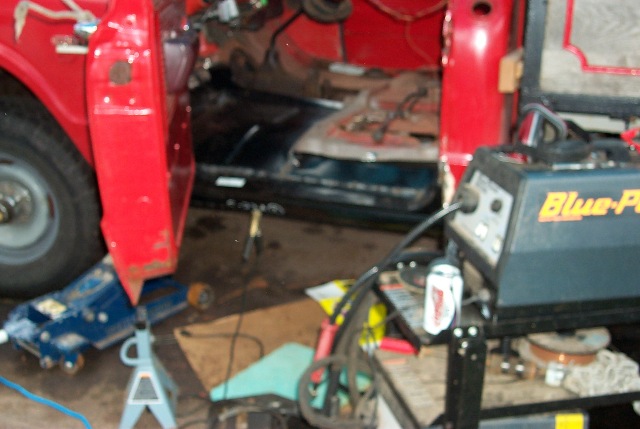
This beautiful 1969 GMC truck has some serious issues with rusting out floorboards. It has been kept outside for over 30 years and has endured plowing for quite awhile. Body panels are fairly cheap for these earlier units, so I decided to rebuild the drivers floor as I was scared that someone was going to fall through the floor when plowing!
The first step, make a little tent to protect myself and the beer from the sun! This would also protect the truck from the rain while it was being worked on. The metal rusts quickly before final paint is put on. I knew that this project would take me at least a week
|
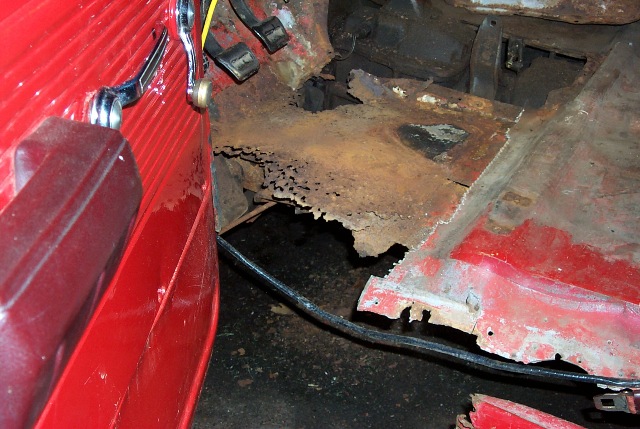
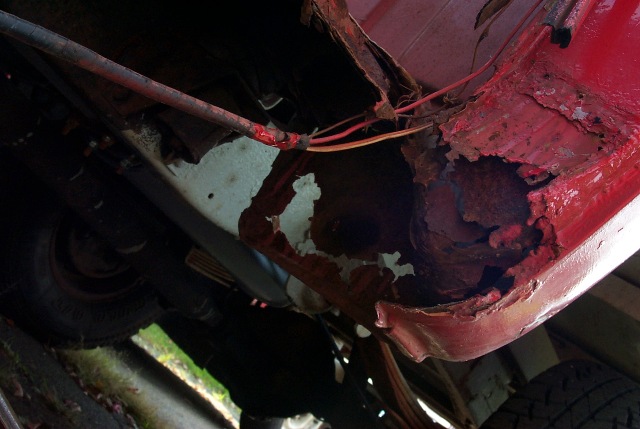
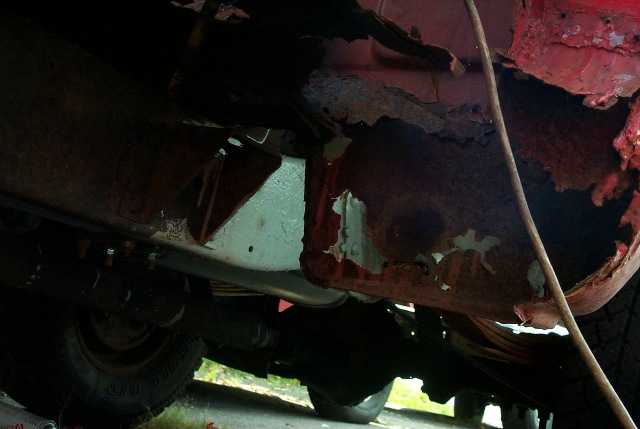
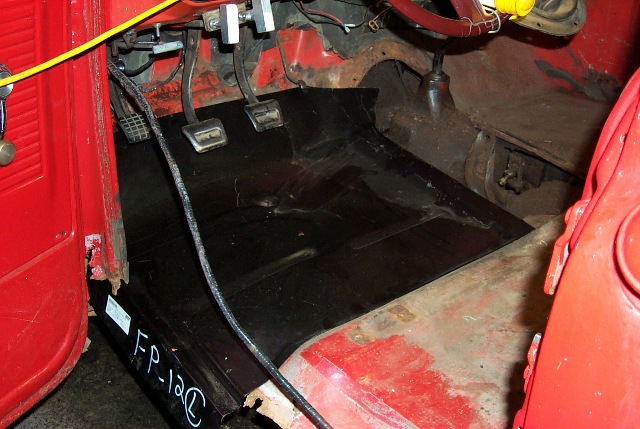
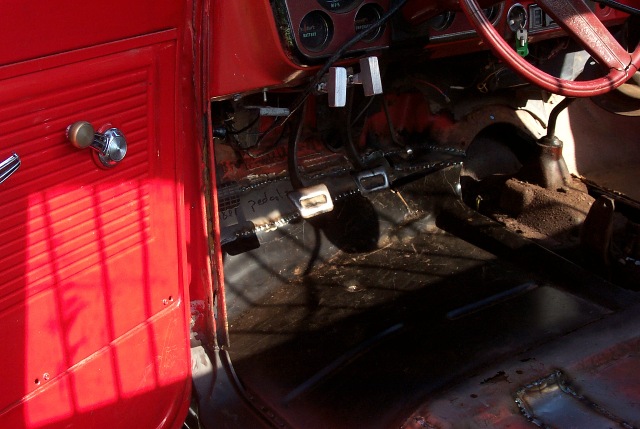
I started by removing the seat, gas tank and the transmission cover in the center of the cab. You can see that someone attempted to cover the swiss cheese of a floor by covering it with a sheet of fiberglass mat. This probably held for a few years, but eventually the sheet metal underneath the mat just disintegrated. The strut that holds the body to the cab mount a few inches outside the frame also had turned to dust to the point that the whole body was starting to bow toward the ground on the outside by the door. The rear drivers cab mount was also toast causing that to drop six inches or so.
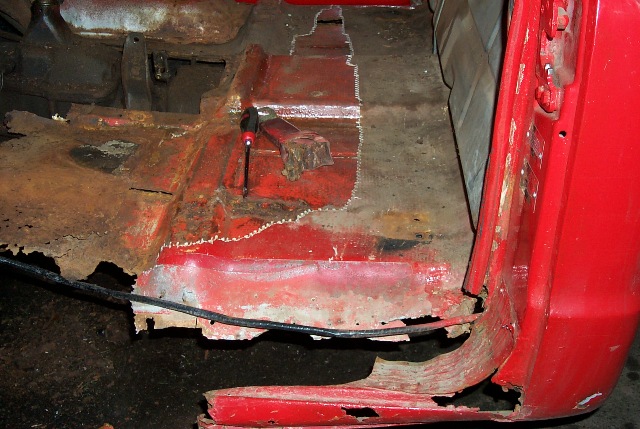
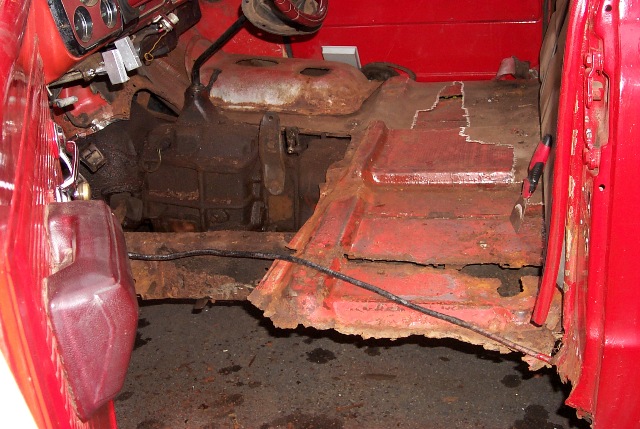
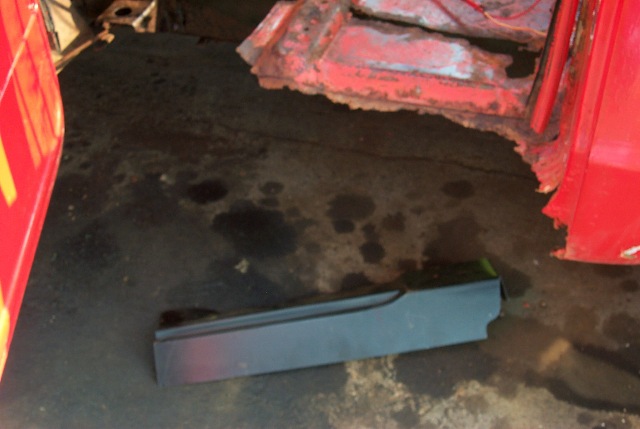
I bought a reproduction drivers floor pan, a rocker panel, an inside rocker panel (that sandwiches underneath and inside the rocker) and a rear floor pan piece that fits to the back of the cab. All of these parts came to around $120.00 or so. After pulling off the fiberglass mat, you can see the extent of the rot on the floorboards!
 |
|
|
|
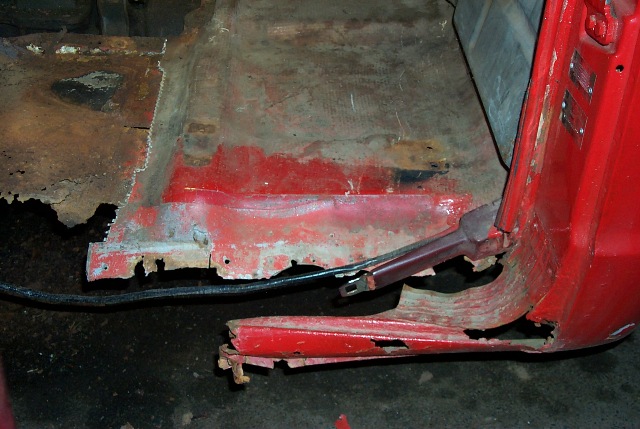
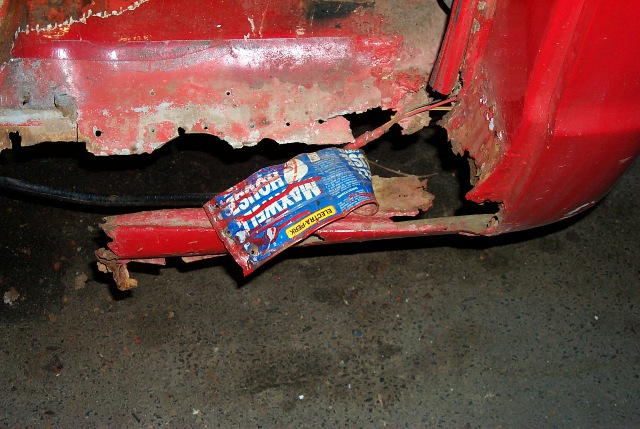
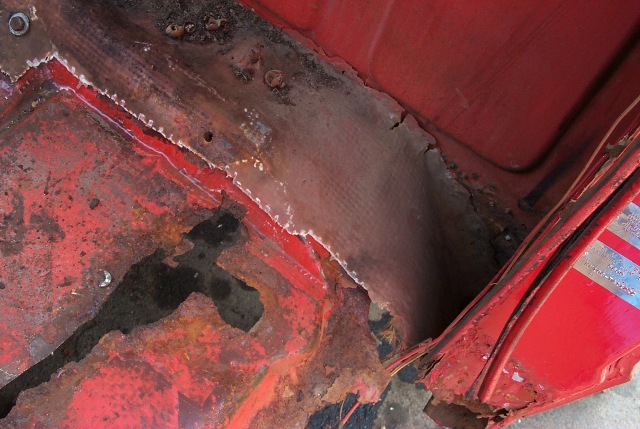
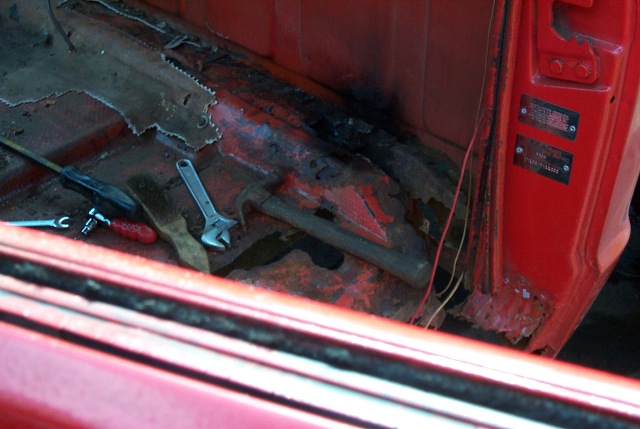
The passenger side was the same although far less than the drivers side, that would have to wait for another day. I ripped a little more mat off the floor to get closer to the center of the truck. Sometimes it's difficult finding a good place to attach to!
 |
|
 |
|
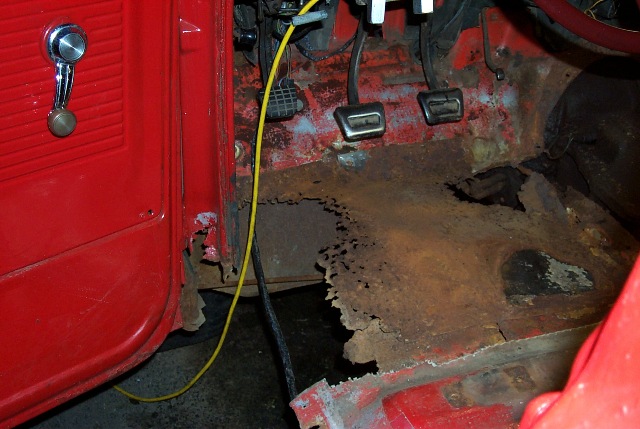
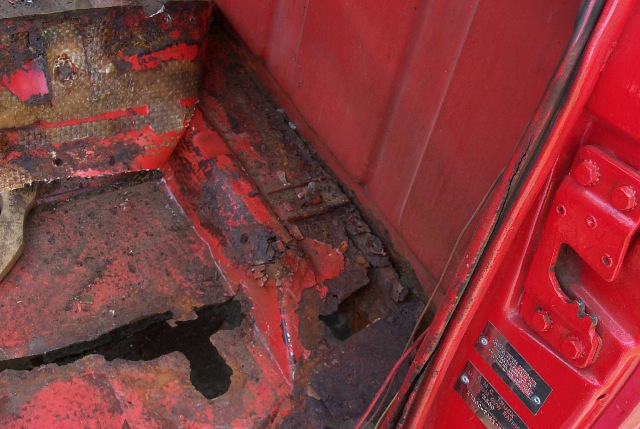
I had it down to where I had a good idea of what to fix and what not to fix. Sometimes you can't remove too much at once for fear of the whole thing falling apart, but this was holding on! I also had to get a floor jack and blocks of wood under certain areas to bring it to the right heights so all measurements would be correct.
 |
|
 |
|
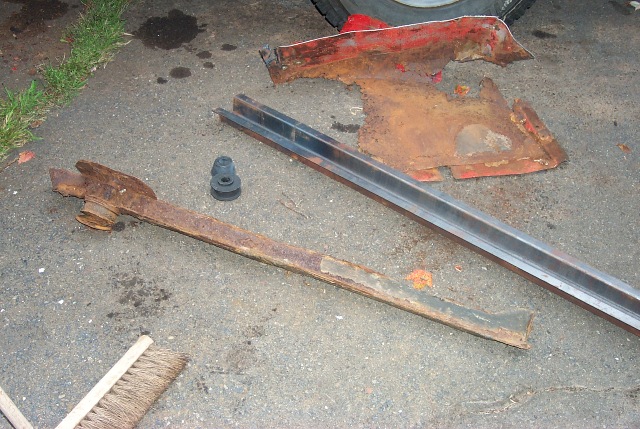
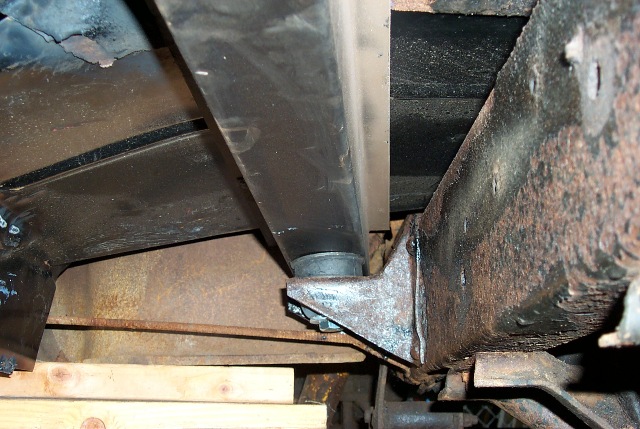
I torched out the rear cab mount and cut off enough material to make room for my new mounting metal. I then bought some universal sheet metal u-channel (pretty thick 16 gauge) and some body mounts that would work. I think the ones I got were for some other GM application but were the perfect size.
 |
|
 |
|
 |
|
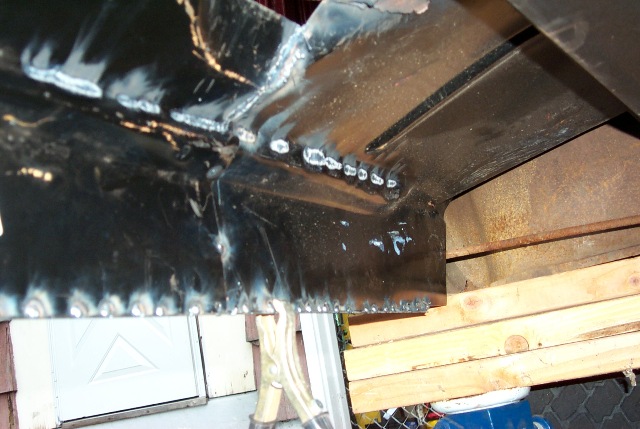
I now fit the panels into place and mark and cut metal from both the new panels and the truck body for the best fit. I try to use the most new metal obviously. I also drill my new strut to fit a bolt for the body mount and cut the strut to length and shape before stuff gets welded in. I weld the bolt to the inside of the strut so that it can be tightened without having to hold the top. I rustproof (paint) the inside of the strut before it gets welded to the floorpan.
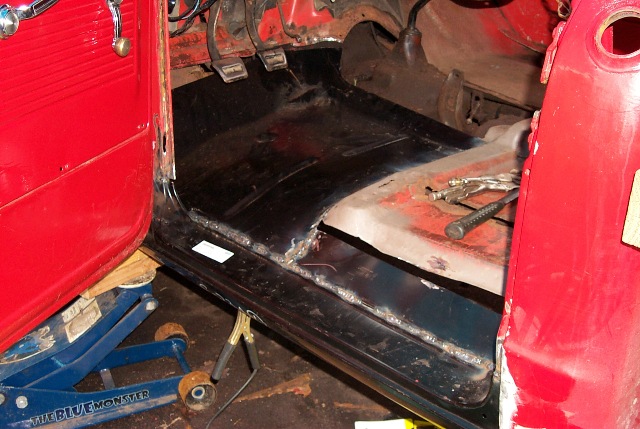
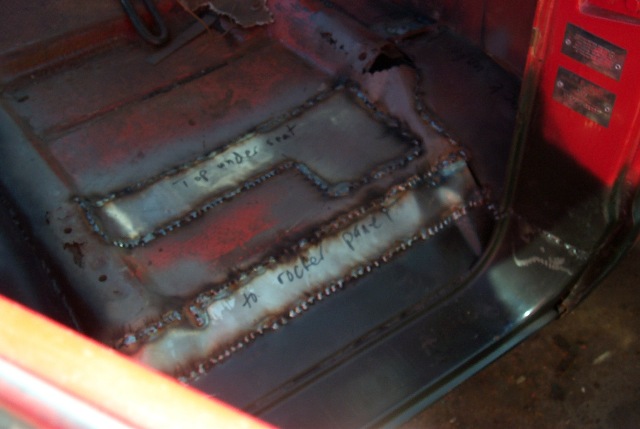
I cut the rocker panel to fit and the floor pan and the inside rocker panel and tack weld into place. I step back and eyeball the whole deal, if something is off, you can usually see it now. If everything seems right I weld it all together. I stitch weld these panels with welds about a quarter inch apart so they don't warp from the continuous weld's heat. You can see in the pictures below, the rockers all line up and the transmission hole is matched up. Sometimes you need to bend your new panels slightly to get them to line up nice.
 |
|
When the panels are all welded together, there are still a few spaces and gaps. These will be filled with sheet metal custom cut and bended to fit. This takes some time, but if you have the body done right up to this point it isn't too bad.
 |
|
 |

|
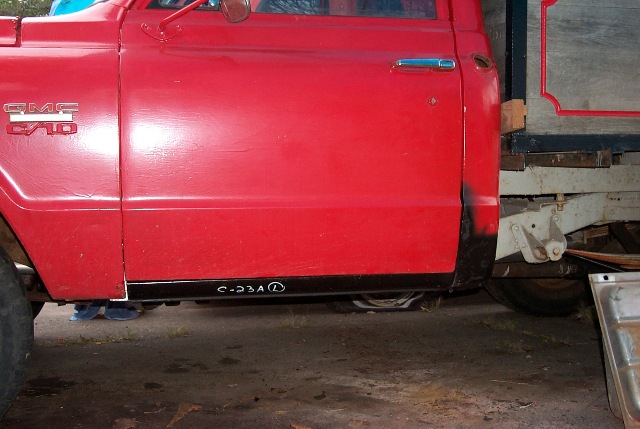
The job is about set for now. To do it perfectly, you would want to grind down welds, apply body filler to hide welding seams and paint with primer and some finish color. Since this is a plow truck I just primered it with spray cans and let it be. Anybody want to do the passenger side?!?
 |
|