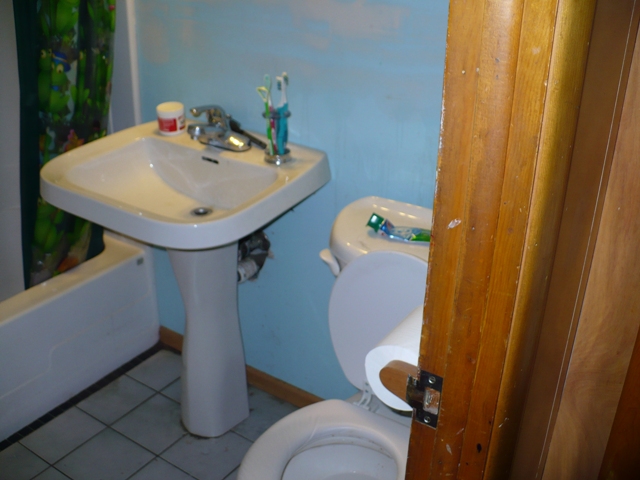
So now, being a homeowner, especially a poor homeowner can have it's challenges. When the toilet started to leak from the floor into the basement, it was time to investigate.
What I found was not pretty. It appears that the original floor tile was covered over with new floor tile some time ago, but the closet flange for the toilet
wasn't moved up to the new tile level. This made an extra gap from the flange to the toilet and required an extra thick wax ring to seal it. When the toilet started
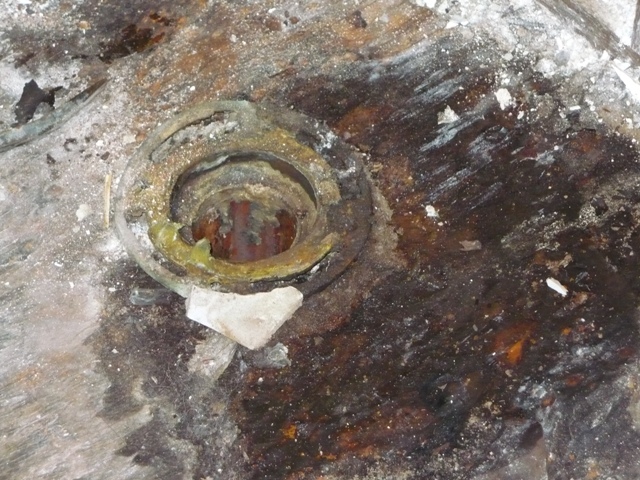
to move slightly from the extra gap, it leaked onto the metal flange rotting it out. This meant that even replacing the ring, there wasn't enough flange left to bolt it down.
A flange fix wasn't possible either as the plywood subfloor was rotted around the toilet from years of slight leaks.
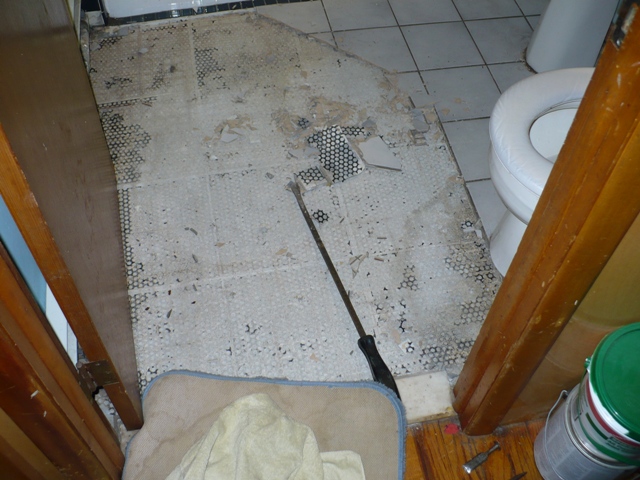
This would require the removal of both of the tile floors to get down to the rotted subfloor. Since the lower tile floor was installed on a thick mud and lath base, removal was difficult.
I removed the upper newer tiles and then chipped the older tiles below it and the lath and mud base out of there with a hammer, air chisel and prybar.
I then had to remove all of the sheetrock because the bottoms of all the sheets were wedged between the tiles and the wall. I then cut out sections of the plywood subfloor, exposing the joists,
to add new subflooring.
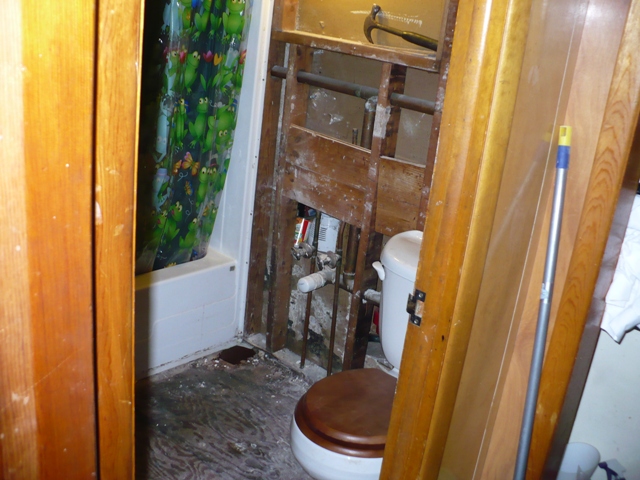
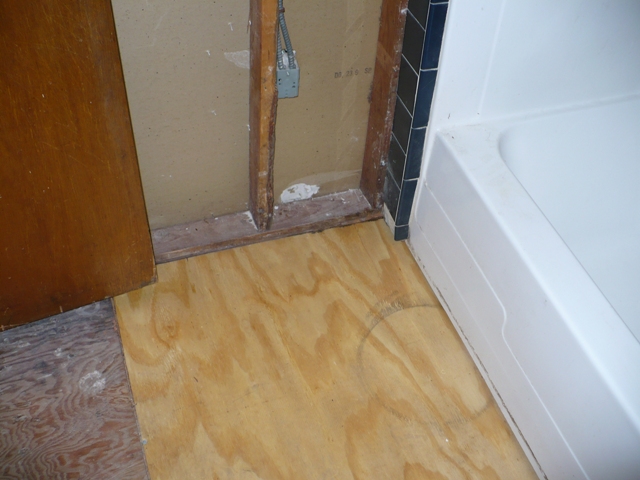
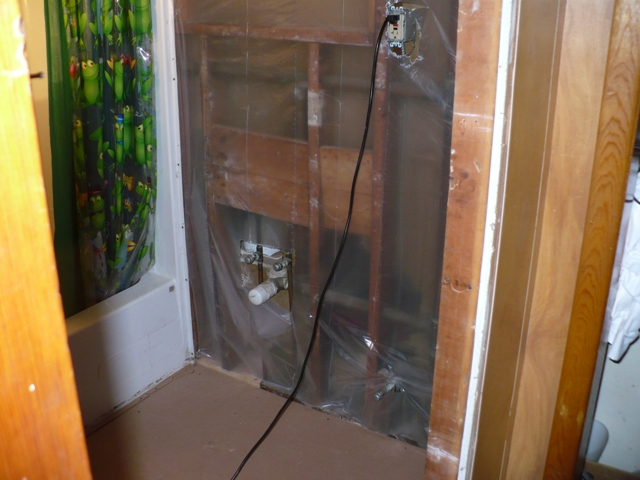
The bathroom before demolition. |
Chiseling away at the tiles. |
More top tiles coming out, looking at the diagonal broken tile
line, you can see the small 2 inch tiles that were the original floor |
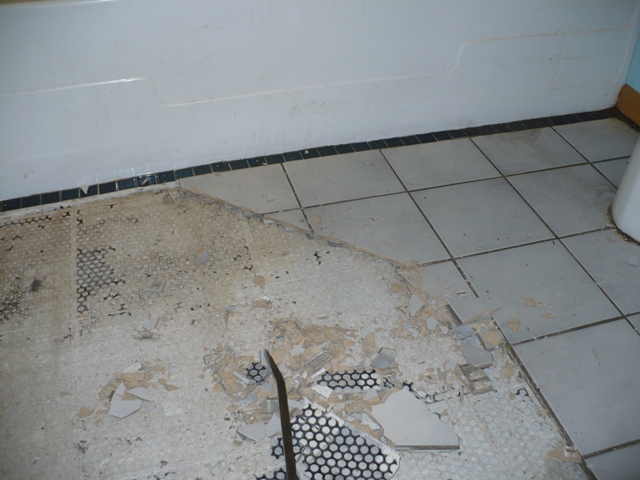
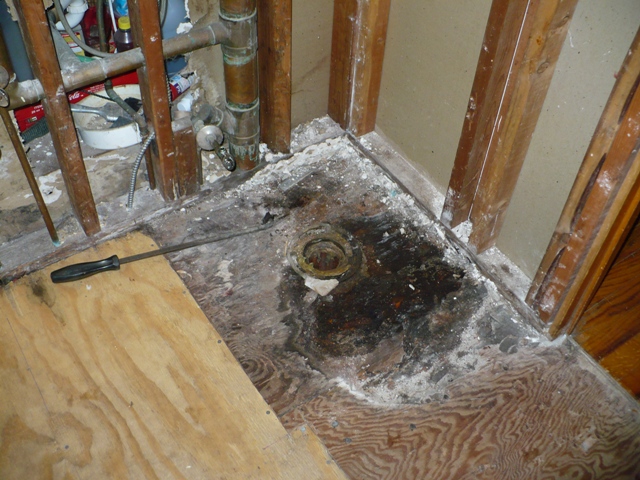
The tiles chiseled off showing the rotted floor |
More rotted floor, sheetrock removed |
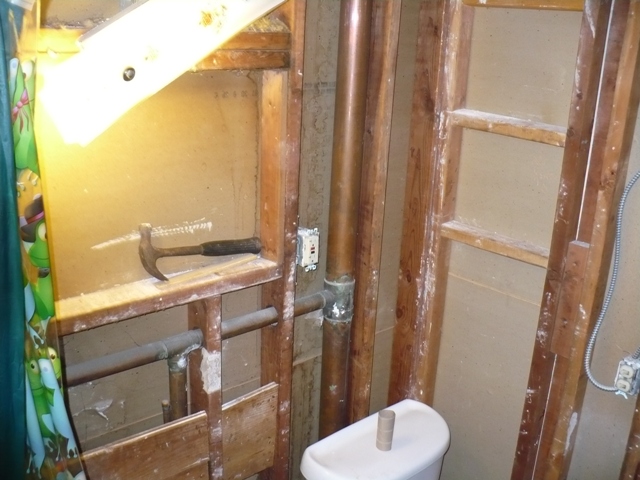
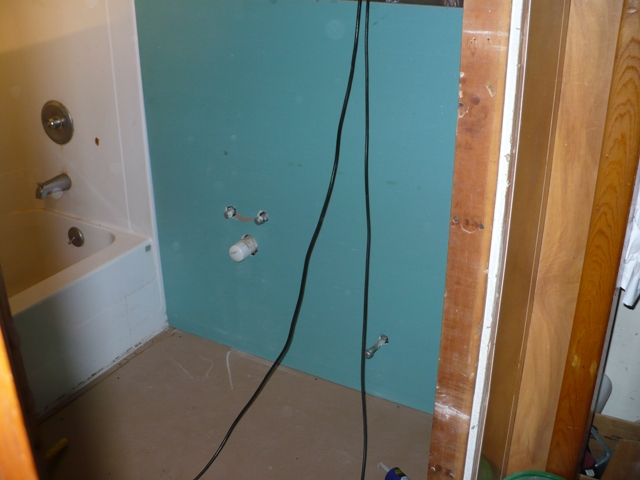
Walls stripped |
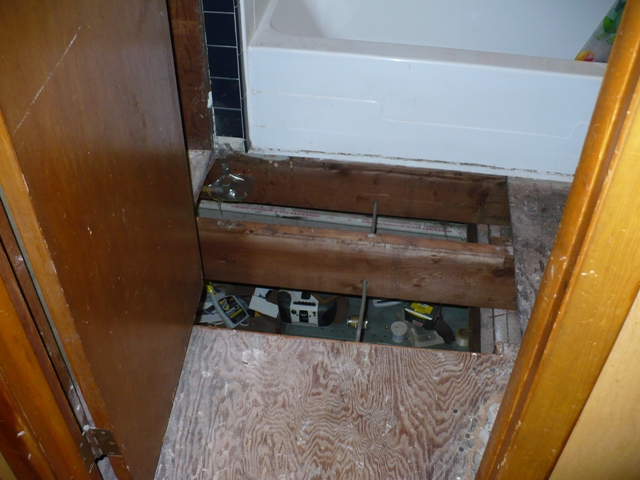
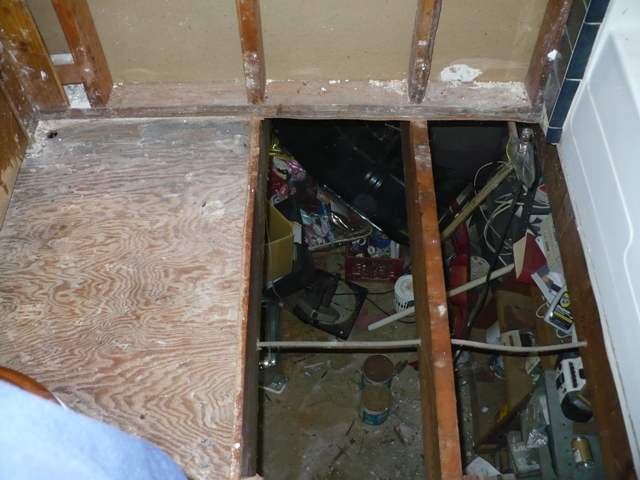
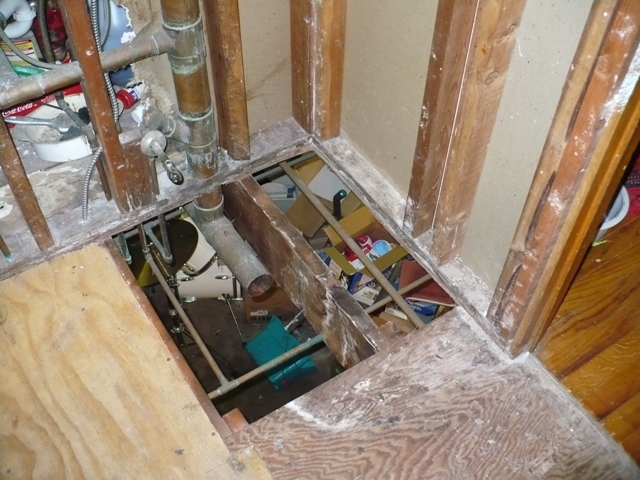
first section of floor cut out |
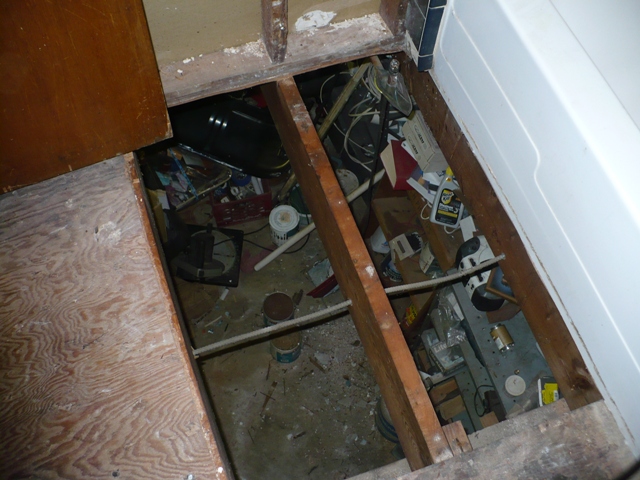
Looking down into basement! |
I did the floor in two pieces, this is the first removed section |
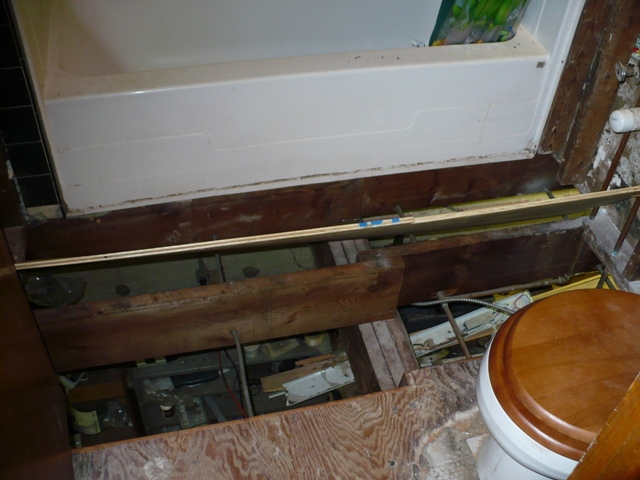
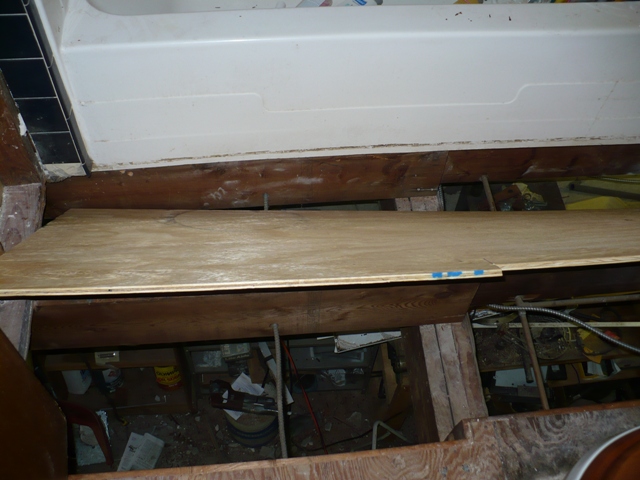
Putting the new subfloor in, you can see that bracing and nailers will have to be added. |
I removed the floor in two sections. This was for a few reasons; the first reason was it was easier to remove and replace the smaller sections. The second reason was that the second section was what the toilet was
sitting on, if I did the whole other side of the floor first then that was that much less time I would be dealing with no toilet to use. It was a big job and with school and work couldn't be done all at
once. In addition to putting down the new subfloor, it had to be braced and nailers had to be added to support the new floor from underneath. This would take some time. Once I established a nice firm subfloor I will add a 3/4 in
section of sturdy backing over the top of this to provide a sturdy non-flexing floor to support the tile and to prevent it from cracking.
.
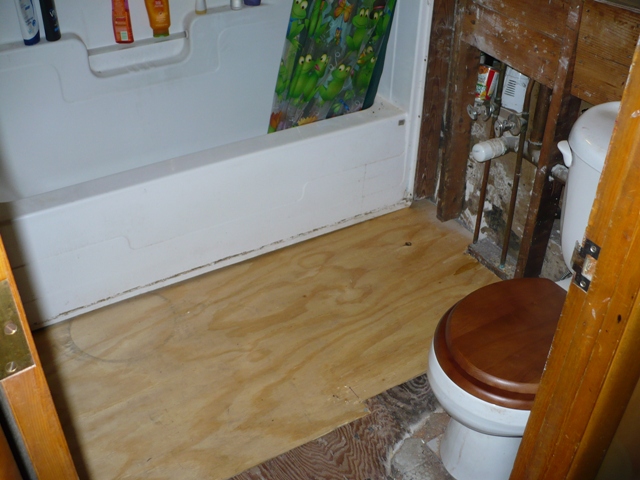
The first side in place |
Another view, you can see there was some wall damage. I have to splice in a piece to replace the rotted
two by four. |
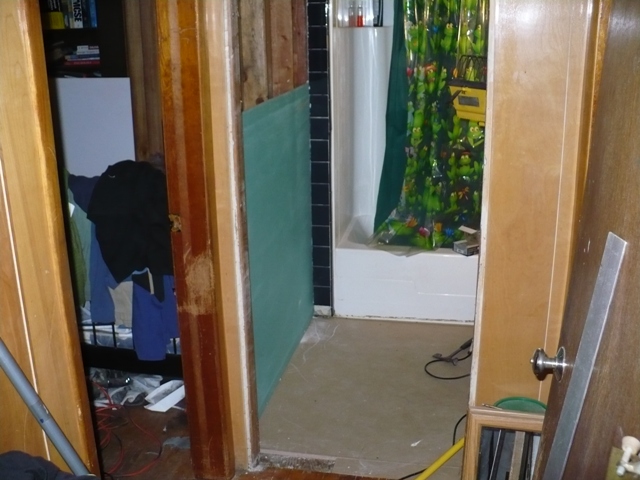
View from other side |
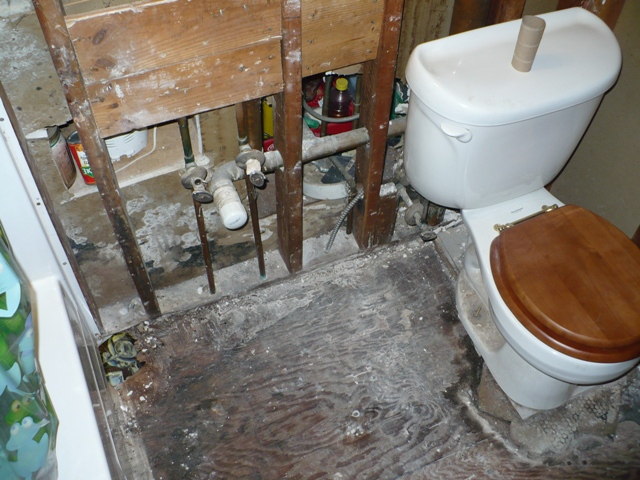
Toilet removed, rot under toilet which prompted entire project! |
OK...A month or so later it's time to remove the toilet and begin the repair under it. I have put off removing the section that the toilet has been sitting on
until the last possible moment, because having no toilet is difficult. We now have to use a portable toilet and I have to get 'er done as the porty-toilet sucks big time! I then cut up the
floor, add the necessary nailers to the framing and then put down new subfloor and then underlayment on top of the completed sturdy base of subfloor. At this point this project has been going
on for a few months with my daughter having to deal with bare stud walls and construction equipment strewn about the house for all this time.
Close up of toilet section rot |
Old copper closet flange removed |
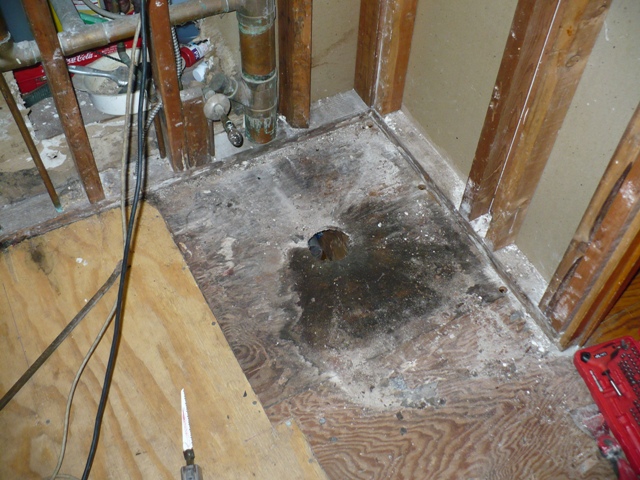
Next section of floor cut out, drain pipe hanging |
Plywood repair done, 3/4 inch subfloor laid down. |
The 3/4 sheet down, you can see the strips I have to make |
Other view |
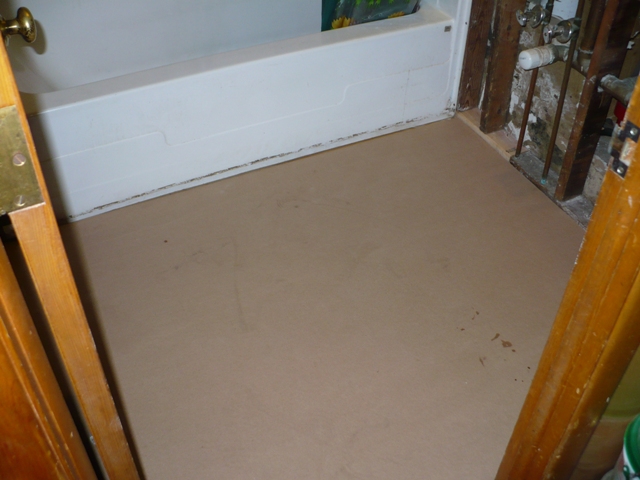
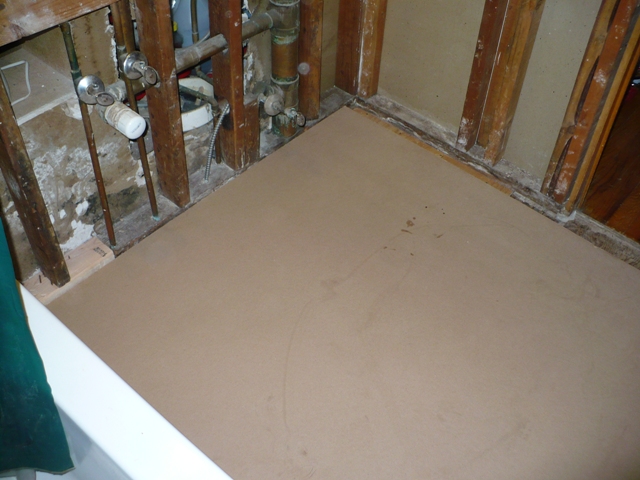
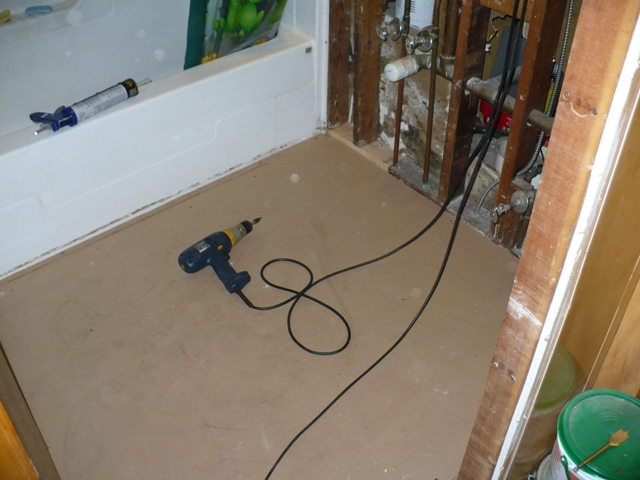
I now have the plywood done and have laid underlayment over it. I have to add strips in some pieces but most of it was in one piece. I will then lay down 1/4 inch concrete tile backer board and seal it
with leveling mortar. I first put the sheetrock in and then tape it as it is easier to do with an empty room and no toilet in the way. Sanding and taping is a dirty job and great care has to
be taken when sanding to isolate the bathroom from the rest of the house, I use a cloth hung in the doorway. I also use a respirator as I have asthma and that room is small. I also have to use one
when cutting the backer board and underlayment. Before I sheetrock the back wall, I put a plastic vapor barrier and some insulation at the top as it goes directly into the attic at the top of the wall.
Wall ready for sheetrock |
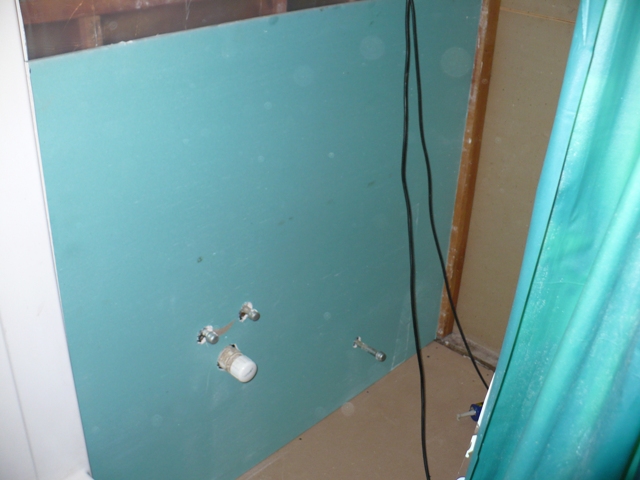
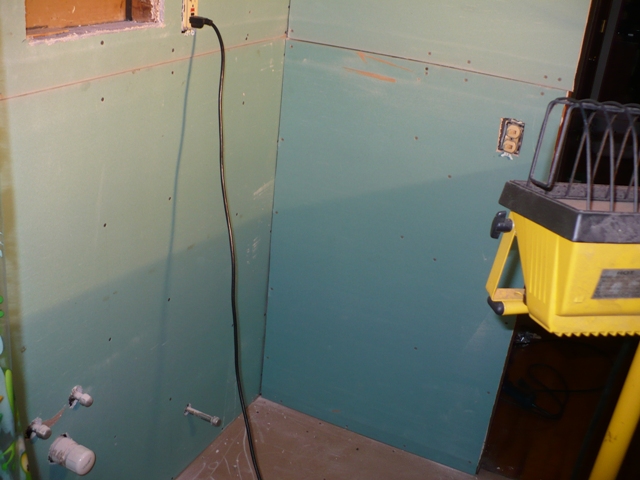
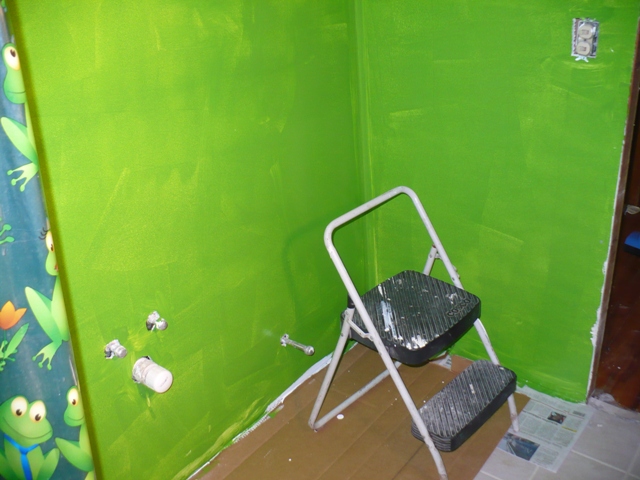
New sheetrock up, it's the green moisture resistant variety. |
The other wall |
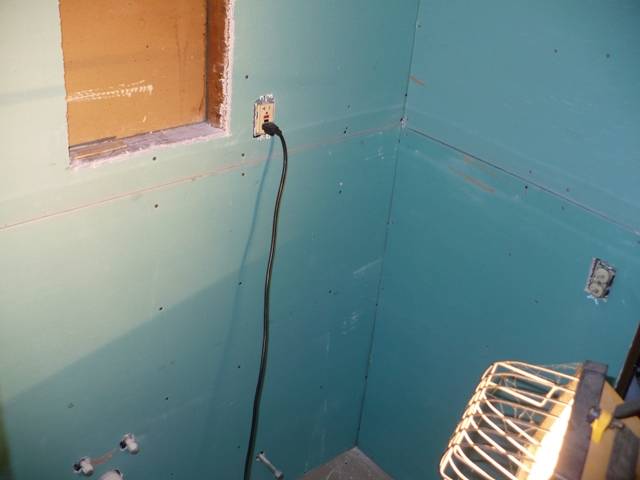
Top of the wall done |
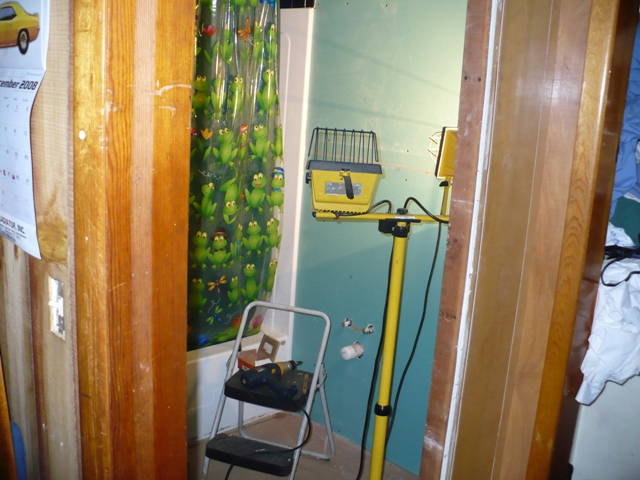
Different view |
Other wall next to the toilet |
OK ready to get messy! |
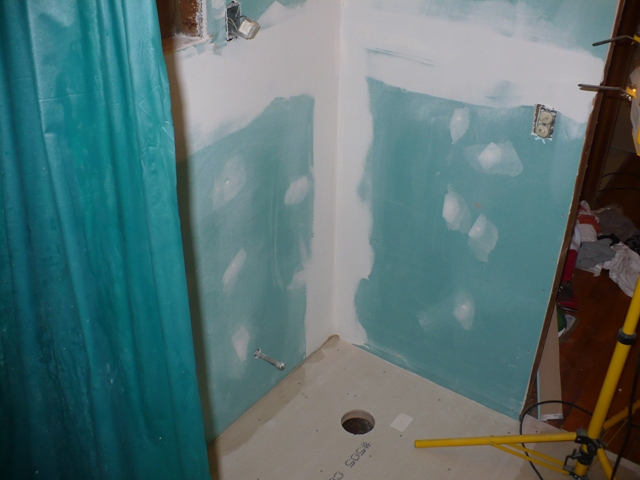
First coat of compound, this is the hardest as you have to deal with the
tape moving around, toilet hole drilled |
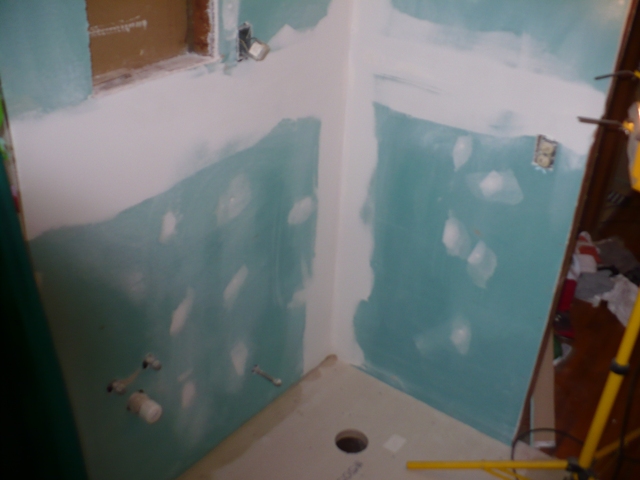
Final coat of compound |
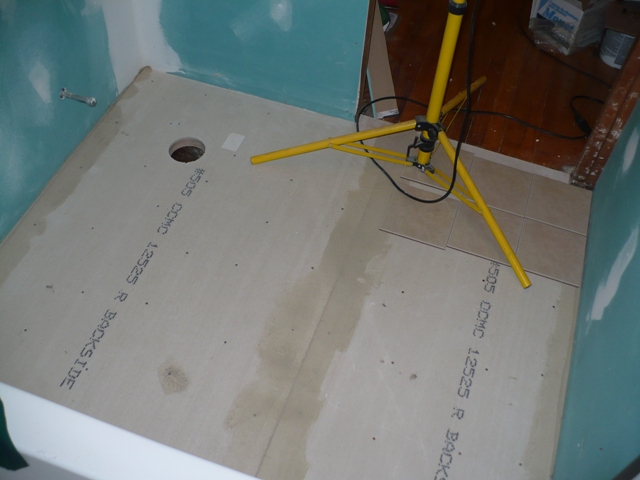
Floor leveler; sealing joints to keep panel movement from cracking grout, tiles starting to be laid out |
New tiles laid out dry with center accent just laid on top |
Accent tile cut out and tile spacers in to cut odd pieces |
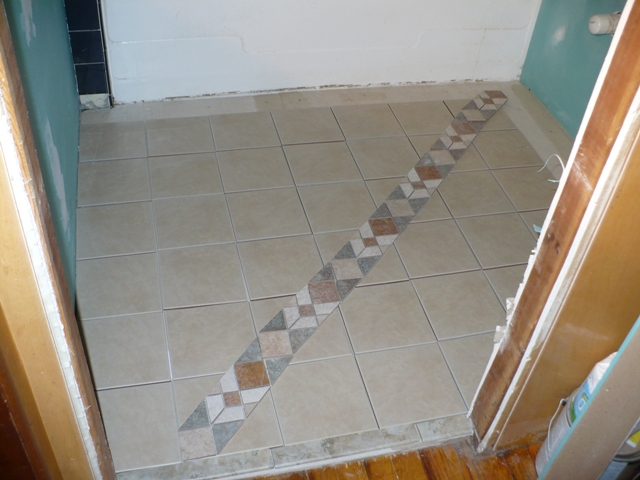
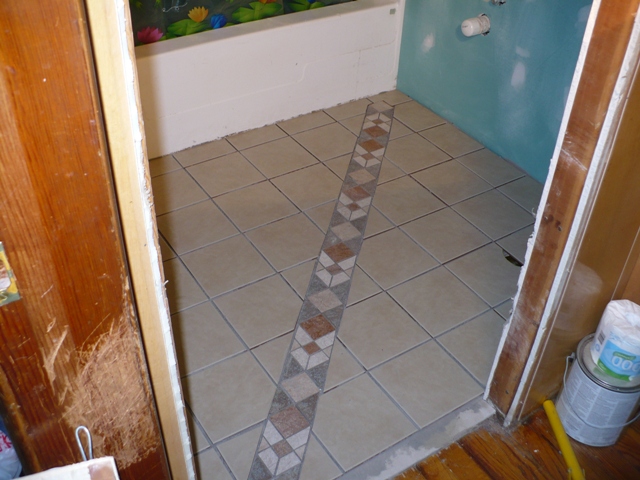
New tiles all cemented in |
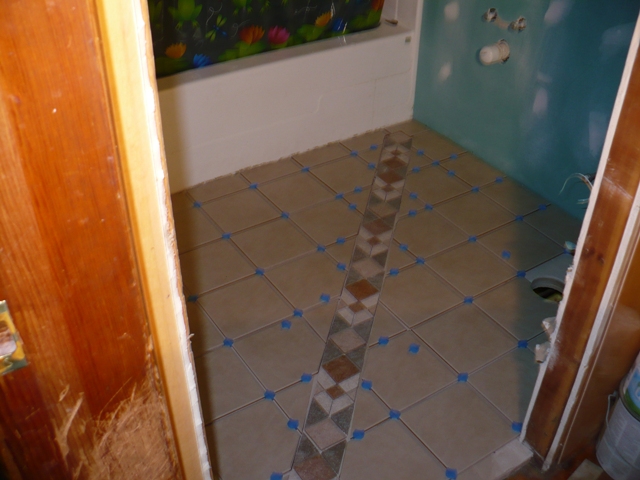
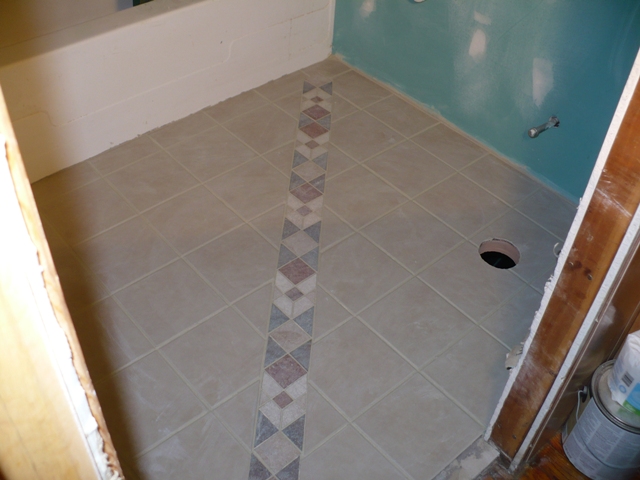
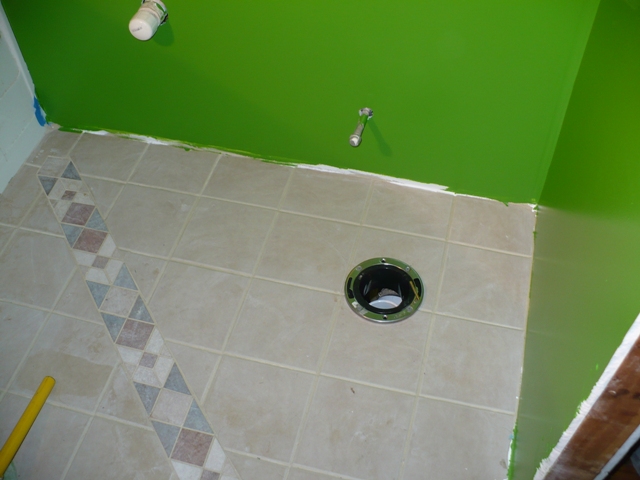
Toilet hole cut and tiles grouted in |
Back wall sealed with primer ready for final paint |
1st coat of paint over the primer |
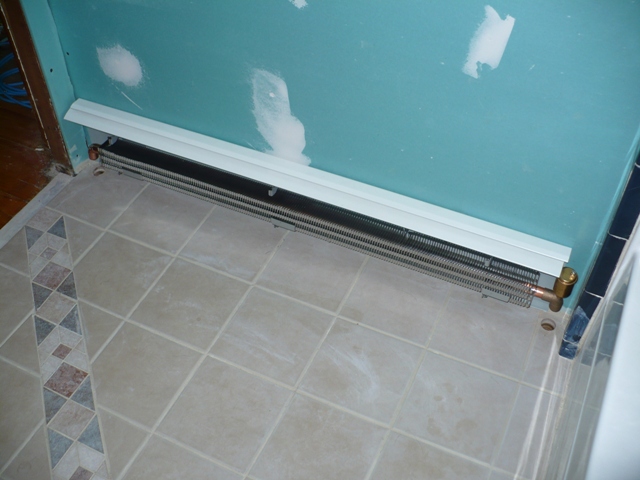
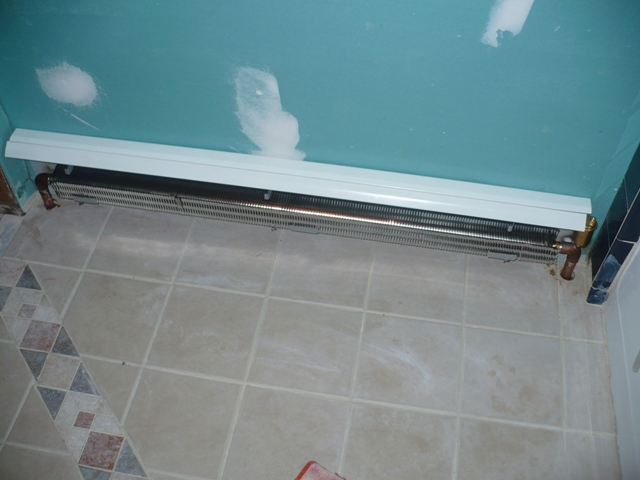
I had to put somewhat of a rush on the final work in the bathroom as I can't install my heat until the baseboard is put back in the bathroom. This is because I cut the old baseboard pipes out
to fix the floor and have two open hydronic water loop pipes open in the basement. To put the new baseboard in the bathroom the floor has to be finished. this coupled with the lack of a flush toilet
gave me some incentive to finish up. My daughter will be happy to get her bathroom finished after six months or so of repair.
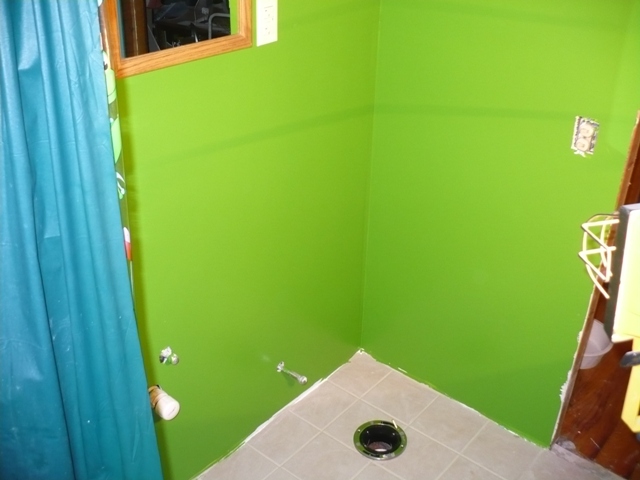
< Walls painted, closet flange installed |
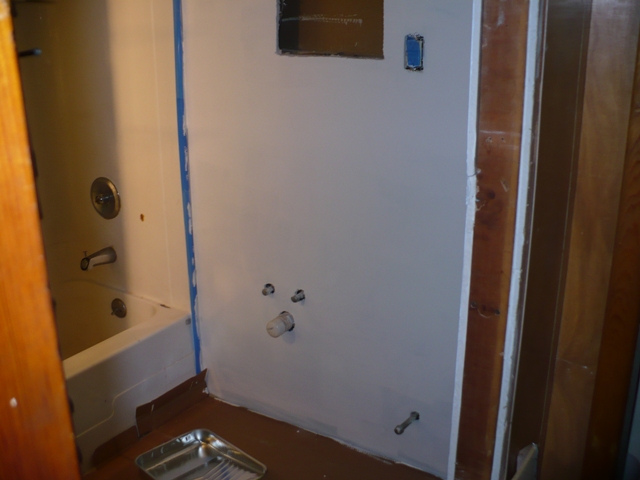
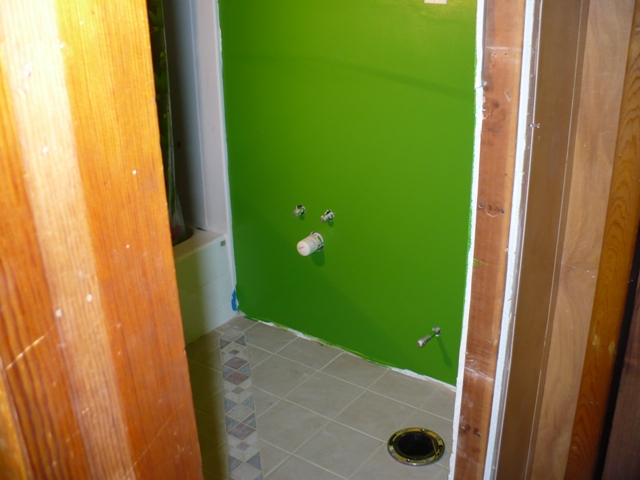
Door front view |
Plumbing all plumbed |
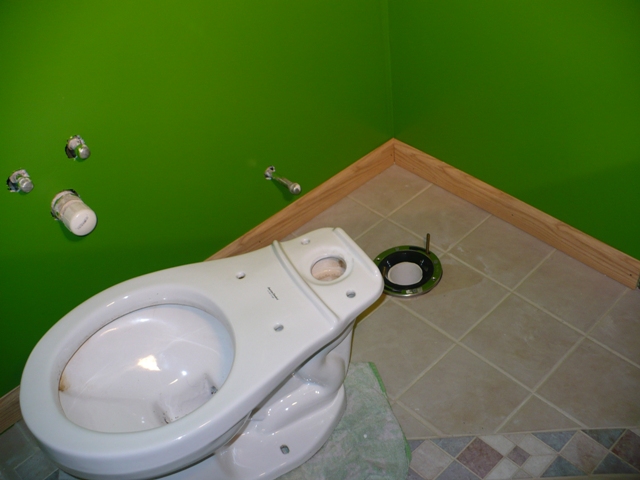
Toilet awaiting to be replanted in floor, trim installed |
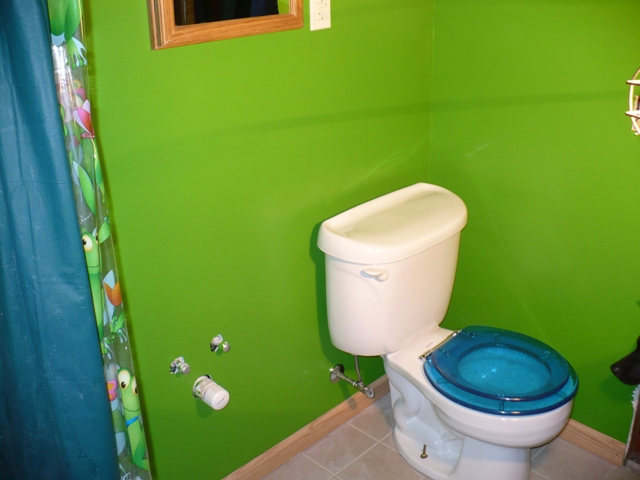
All hooked up! |
Nice bright paint, huh?! |
Baseboard holes cut in tile and backing screwed to wall. |
Soldered in to pipes below |
All right, now I can finish installing my new furnace with the baseboard loop complete (while finishing painting the bathroom back wall and installing a door and trim)!!